Get started with Opalefy
Create an account, choose a workspace, and build your first website.
Opalefy separates the work of managing a website from editing its pages. Your website dashboard holds pages, submissions, analytics, assets, and settings. Studio is the visual editor for the content of each page.
Build your first website
- Create your account and verify your email. Signup creates a personal workspace for you.
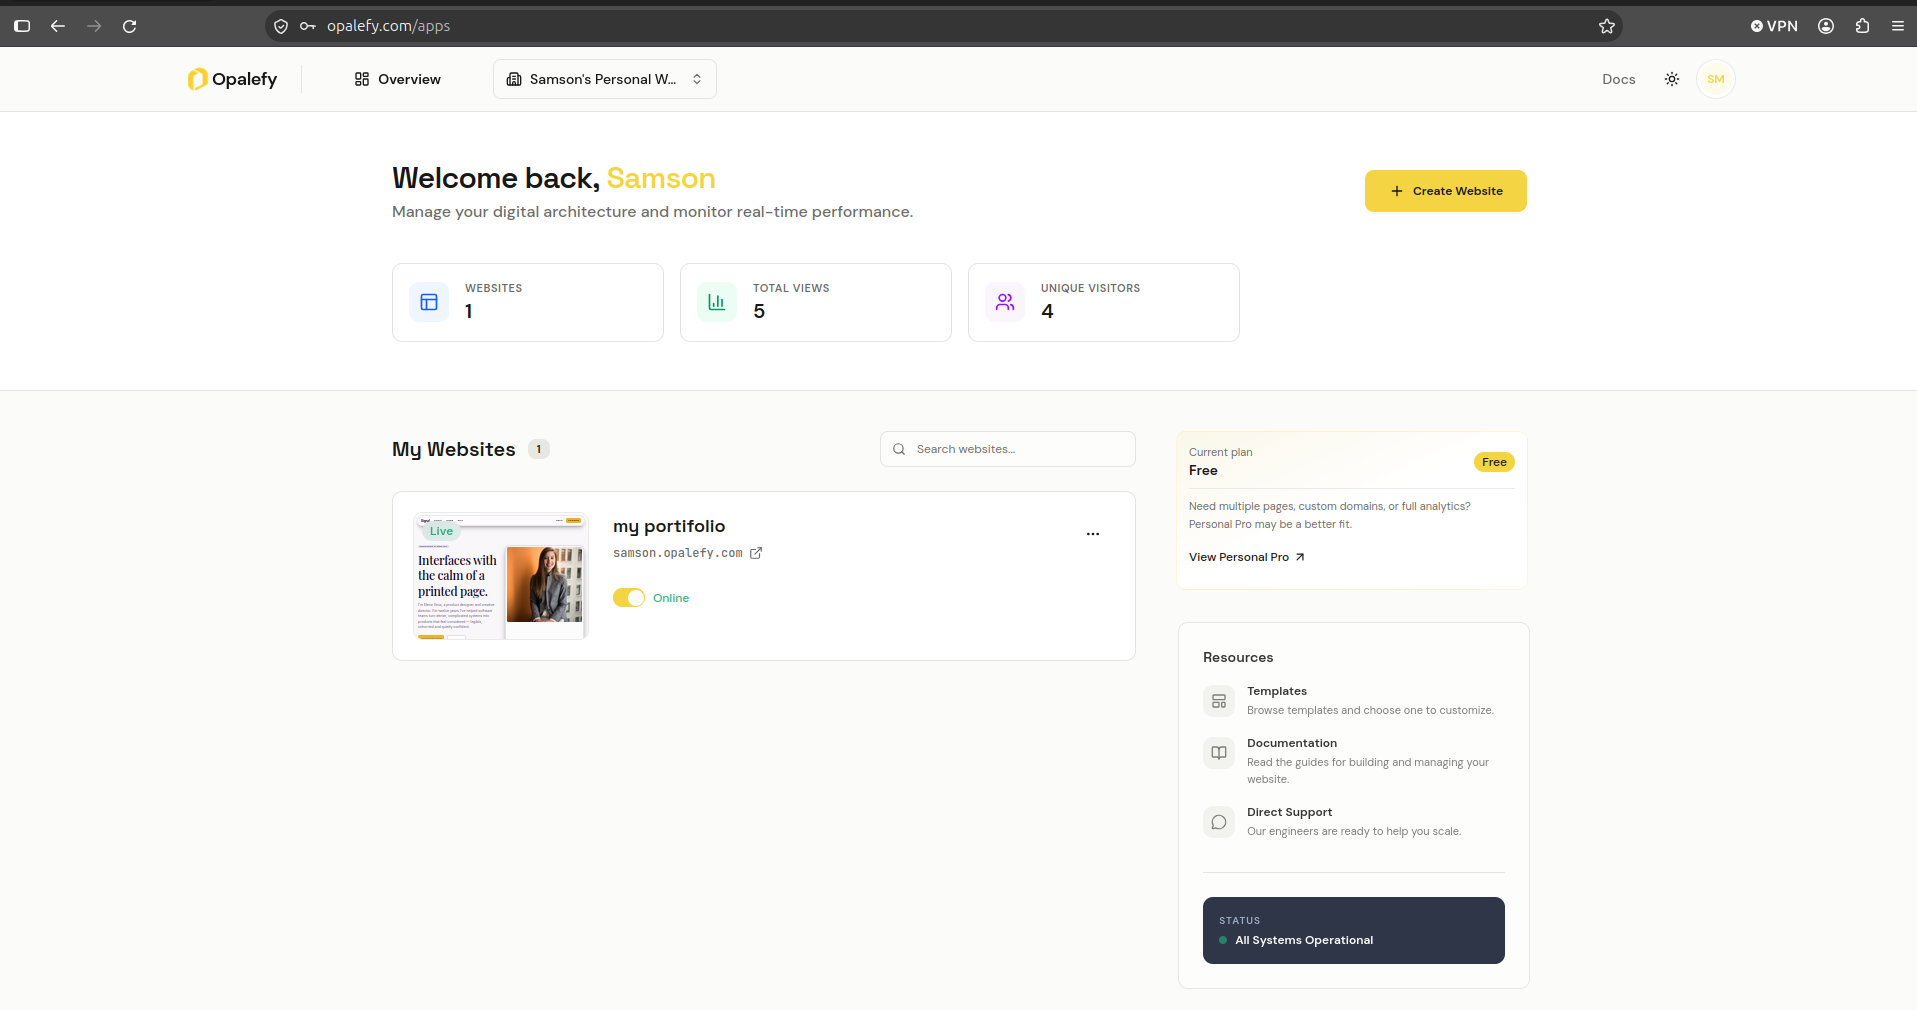
- Open My Websites at
/apps. Check the organization shown in the dashboard menu. - Create a website. Choose a category, enter a name, and check a subdomain.
- Edit the home page in Studio. You can start with your own content or apply a page template.
- Review the page before publishing. Creating a website does not make it live.
- Publish a page in Studio, then return to the website overview and use Visit site to check the public result.
Know which workspace you are using
A workspace is also called an organization in the interface. It contains websites and has its own subscription and permissions. The personal workspace created at signup is not the same as a team workspace you join later.
The website creation screen shows the active organization in its summary. Check this before you create a website: a website uses that organization's plan and website allowance.
Read Workspaces and organizations before setting up a shared workspace.
What you can do on Free
The default Free plan allows one website and one page, with an Opalefy subdomain and 50 one-time AI credits. It includes free templates and limited analytics. It does not include team management, custom domains, or code export.
Paid plans increase limits and unlock features. See Plans and limits for the current seeded defaults and how to check your workspace's actual plan.
Find an existing website
Open /apps and search by website name, subdomain, or category. The number beside My Websites reflects the filtered list.
If a website is missing:
- Clear the search before assuming it has been deleted.
- Check the active organization.
- Ask the workspace owner whether your membership and website-viewing permissions are active.
Use the website card to enter its dashboard. From there, open Pages to choose an individual page or Open Studio to edit.
Where to go next
- Website dashboard: check status and manage website resources.
- Pages: add routes and open them in Studio.
- Forms and submissions: collect and review visitor responses.
- Billing and receipts: pay for a plan and confirm activation.